Building the Town of Ashland - Final Chapter
February 4, 2015
This article is the last in a series written by Tom Oxnard chronicling his project to build the town of Ashland on his Boston and Maine layout. Read along as Tom discusses his thought processes and construction techniques as he raises Ashland off the plywood benchwork. Thanks Tom for a great series !
February 2015
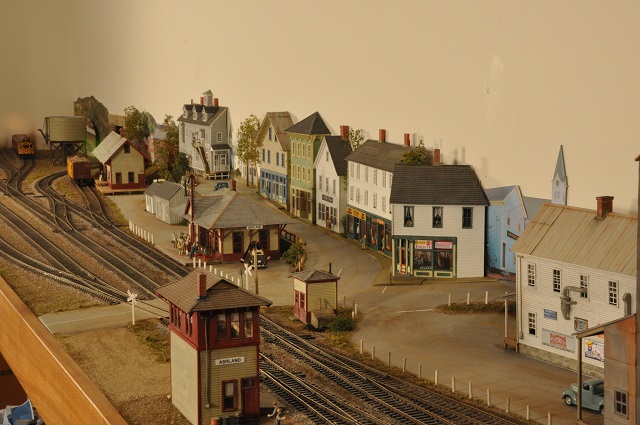
This past month I finished contouring the landscape, roads, and hill with Styrofoam and Spackle. I sand it fairly smooth but still like to retain some potholes and imperfections. I painted the roads with a mix of black and tan. I finished placing a variety of guard rails along the road and down the hill to the freight house and put more sidewalks in the town.
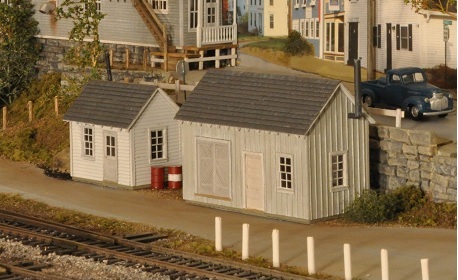
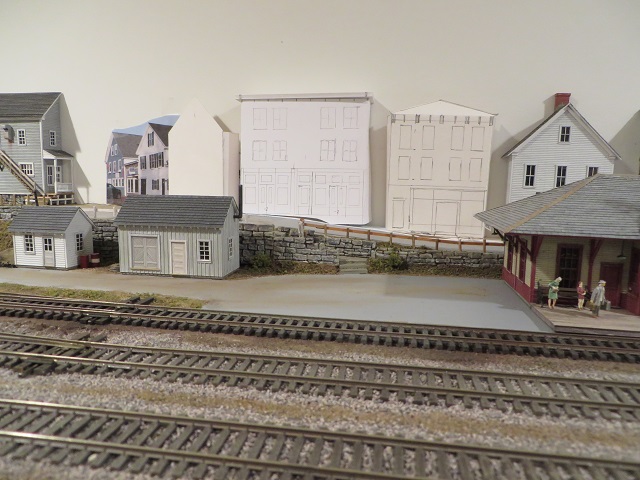
In the area between the station and the freight house I scratchbuilt two small buildings: a larger storage shed with vertical boards and battens (1/16th inch sheets from NESL), and a smaller yard office with coal bin (from Tichy) and stove. With those in place I was able to cover the terrain with brown paint, dirt, mixed coarse turf, and some sand.
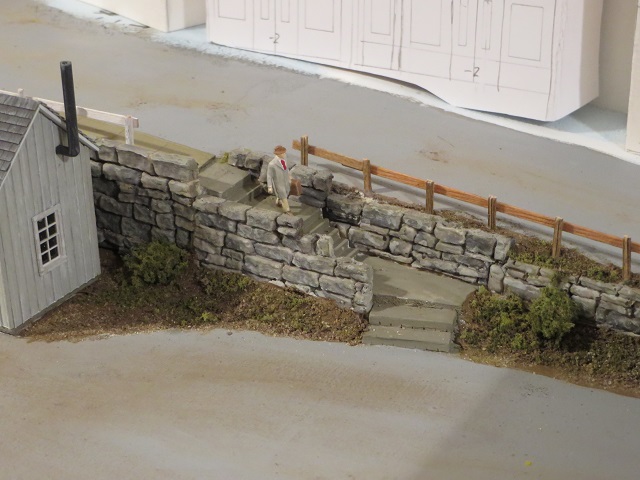
I created stairs down to the station with a variety of plaster stairs from my "left over" box, and some other plaster stair-size pieces. You can easily use styrene. I cut pieces of the urethane Scenic Express "random stonewall" to fit around the stairs and glued them in place with Liquid Nails. All the stonewalls get dry-brushed with a little SP Lettering Gray, some Concrete, and a little Earth, and then weathered with an India ink wash. The stairs rise behind the station 1 3/8 inch from the parking lot to the road through town.
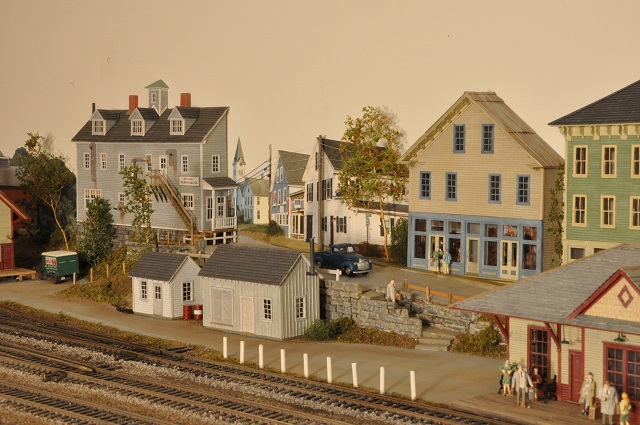
I finally built the corner building with a first floor storefront from Smalltown USA (part 699-3), and a scratchbuilt upper story. The angled buildings seem to give more of an illusion of depth. I added interior detail to this corner cafe because of its prominent location and large windows, including rug (pictures from an advertisement), tables, counter, diners, and waitresses. In Exeter we have Gerry's Variety and Trackside Cafe in the old train station. I took pictures of those signs at 3 different distance settings and printed the appropriate size to fit into the upper windows of the storefront.
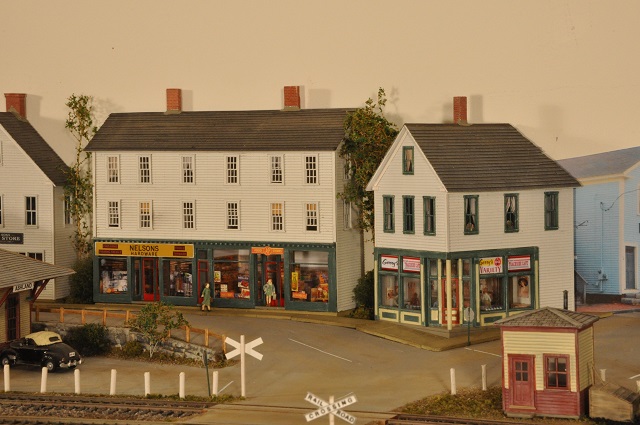
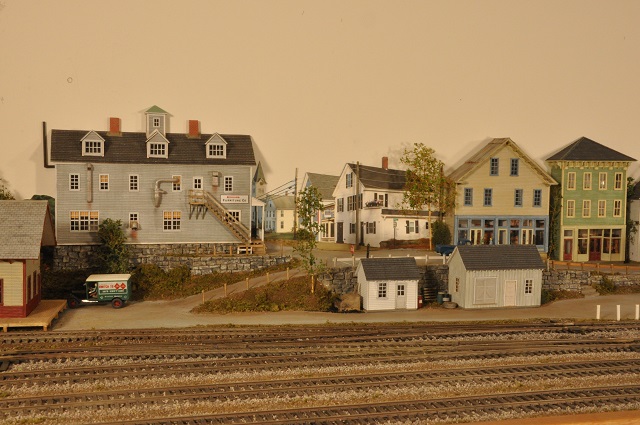
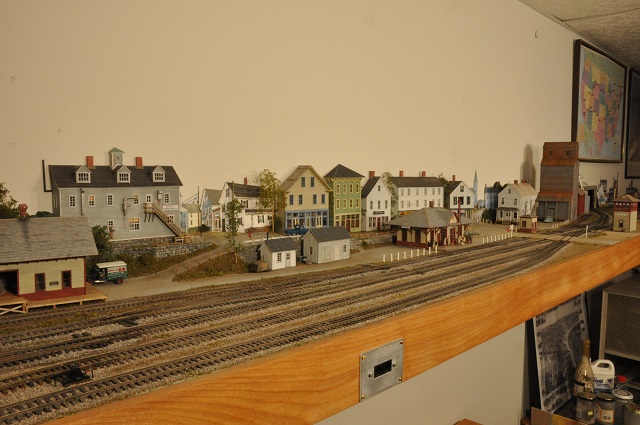
I finished adding 3 dormers and a cupola to the Ashland Furniture Co., along with scenery around the foundation. It is 1 ¼ inch deep. I next built 2 town buildings with other Smalltown USA (parts 699-1 and 699-2). These were modeled after 2 buildings in downtown Exeter and were built fairly quickly because they were half buildings. Each has different corbels that make them interesting, and are 1 inch deep. The interiors were detailed with store pictures and people. I placed trees (Scenic Express Supertrees) and shrubs between the stores.
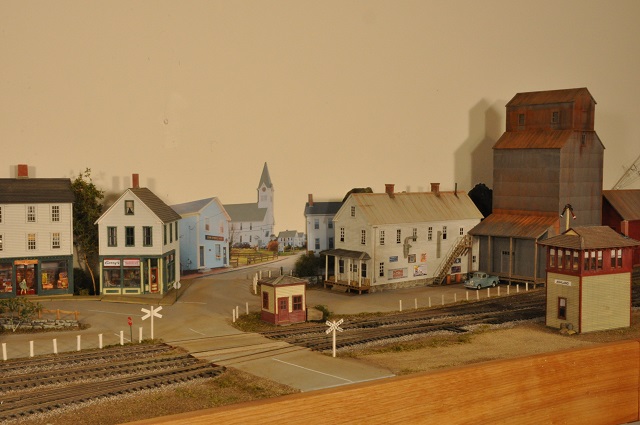
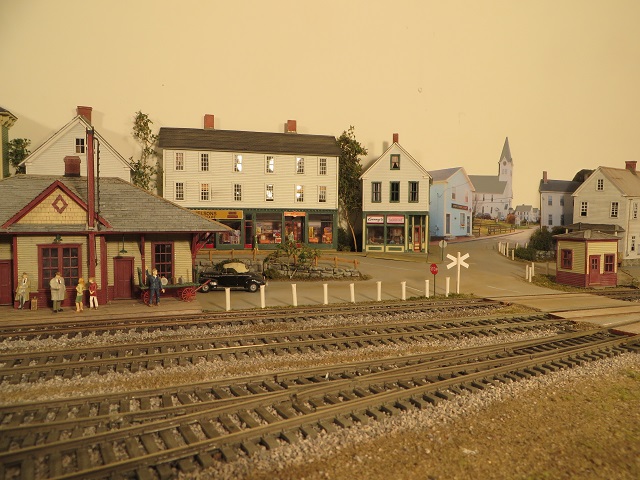
The road then curves out of town to the left. I wanted pictures showing this and tried a variety of pictures from a commercial CD. None seemed to be right, so I went out with the camera again and took several pictures from the side (about 30-45 degrees). I combined 2 pictures with stores, house and church. One picture had a car in front of the store, so I painted over it, dusted it with burnt grass, and placed a small bush in front of that. I blended the road into the picture with Spackle and paint. The sidewalks are made from styrene and are narrow ("forced perspective"). I placed 2 telephone poles with Berkshire Jct "E-Z Line" as wire coming out of the electric wires of the picture.
When taking a picture of a row of buildings, it is important to have the walls and building corners vertical. Sometimes the buildings on the left may lean inward and the buildings on the right may lean inward. If that happens you can take pictures of each building separately, or take the one picture, cut out each building, straighten them to vertical and splice them together. You can also use Photoshop.
I finally ballasted the track. This is the part I least enjoy. I added Wood Grade Crossings from Blair Line, and built the road using styrene. I added a thin coating of Spackle to the top of the styrene for a more realistic surface. Lastly I placed some white wood posts along the RR station parking lot. I still have to add some more details like telephone poles and lines, store signs, street lines, signs on the grain elevator, and cars.
It's been fun to try to squeeze this much into a 10 inch deep space. The width of the space helps it be more realistic.
Processes I use in creating a scene:
- Make a footprint and diagram of the area I want to model.
- Arrange the scene where the buildings will be, starting with your major structures, and where the roads will be.
- Incorporate land rising, angled buildings, and layers of objects from front, middle to back for added interest.
- Build cardboard mockups of the buildings I want, either to buy as kits or scratchbuild.
- Creating backdrop pictures is easier because of digital cameras, computers, and printers.
To view the first two installments of this series, please click on the links above on the left side, under the "How To Articles" heading.